The Craft Room
It started with just a few containers of beads. Then it was a bead corner in the living room of our old apartment, then a bead wall, then a bead ROOM! Now I have a fully functional and well organized (sometimes) craft room! I had been wanting a peg board organizing system for awhile, as I had seen several really cool ones on Pinterest. With a little bit of inspiration, and whole lot of determination, I built my own pegboard display! I spray painted the board white and the trim an ocean blue, glued on the backing wood support (also to keep the board away from the wall to keep space for the pegs to insert), screwed it to the wall (straight and on my own, mind you), then used mounting tape to secure the frame to the board. That way, if I want to repaint the frame or board all I have to do is pull the frame off and unscrew the board from the wall. It was quite the project and I'm very proud of how it turned out! I also purchased pizza racks from an online kitchen store and used them as racks for my bead containers. Works perfectly!
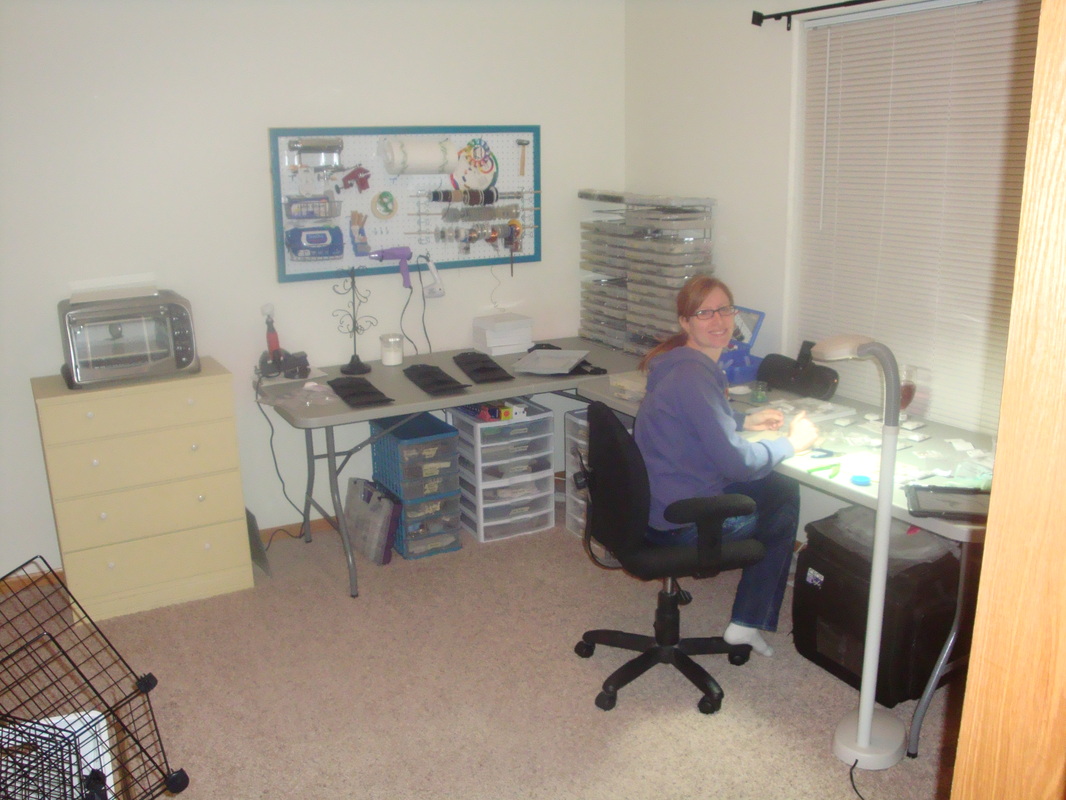
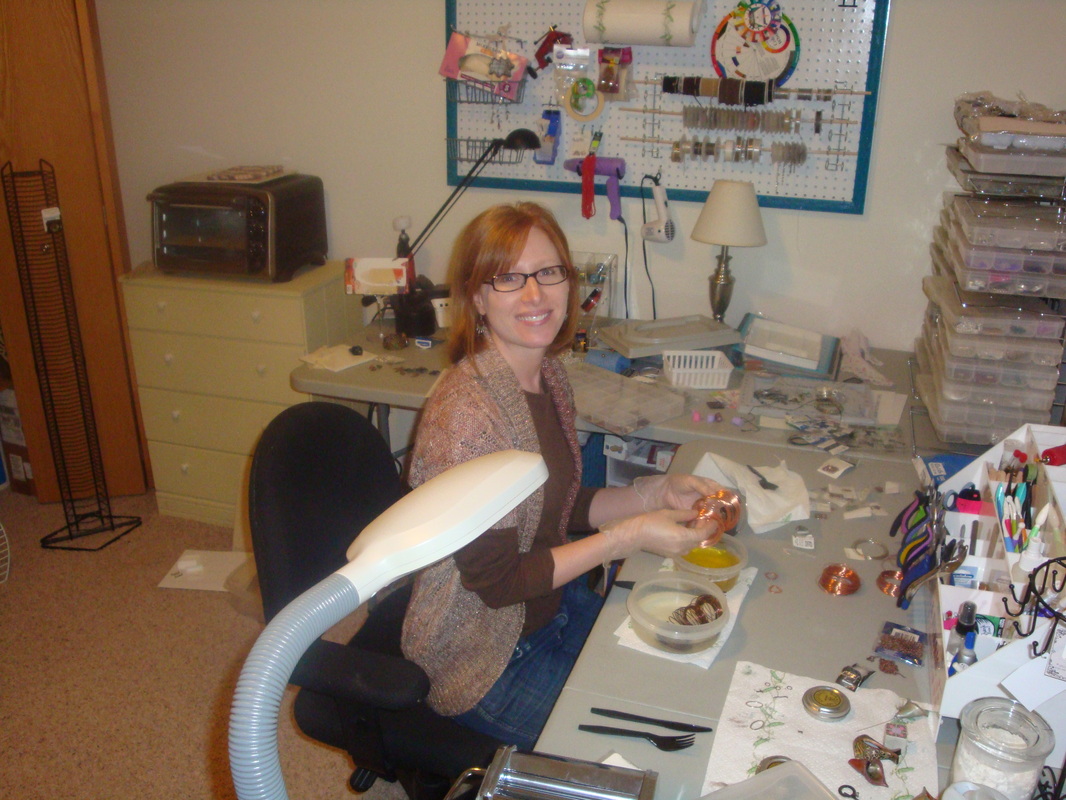
Hard at work on my bridal necklace!
|
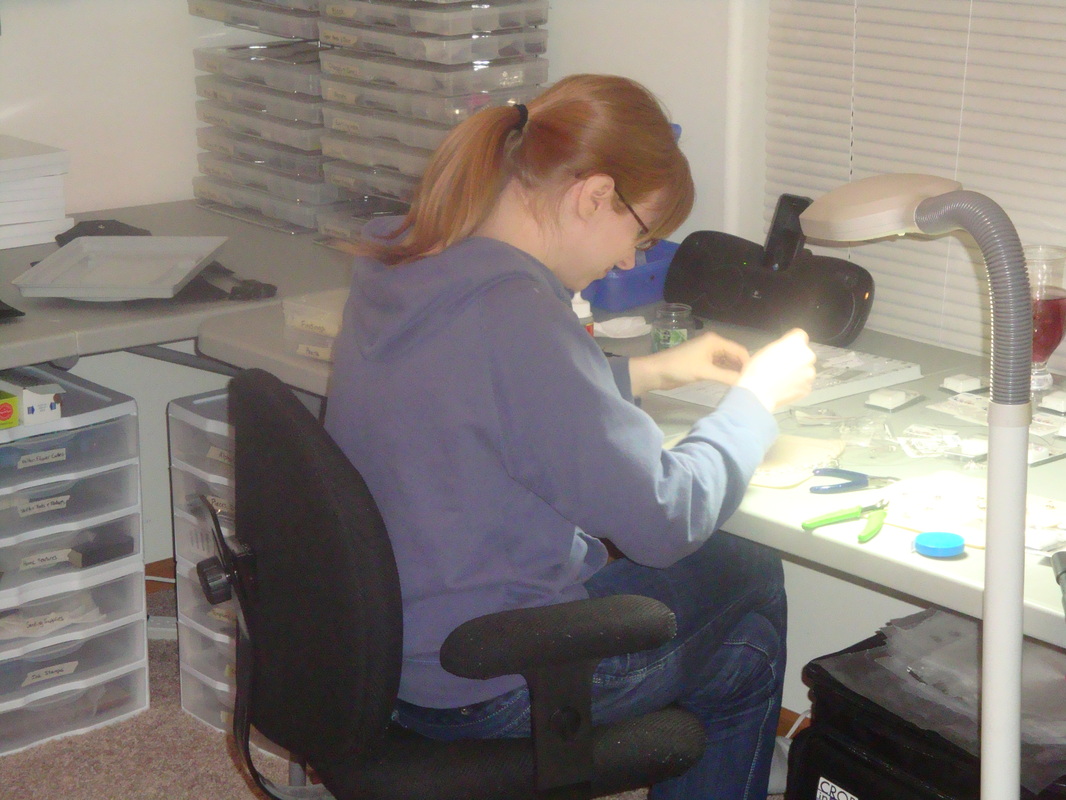
If the shades were up I'd be able to look and see a lake!
|
Putting a Patina on Copper Wire
Metals come in all sorts of colors, and it's natural for them to be shiny, dull, dark, or light, depending on the metal and the elements it's been exposed to. There's quite a bit more work that goes into a piece of jewelry if the wire or metal piece is not the color I want it to be. That is where "patina" comes in. It's the ability to change or "age" metal to a darker color. I prefer copper to be a dark chocolate color and these photos were taken by my wonderful hubby on my very first "patina" attempt!
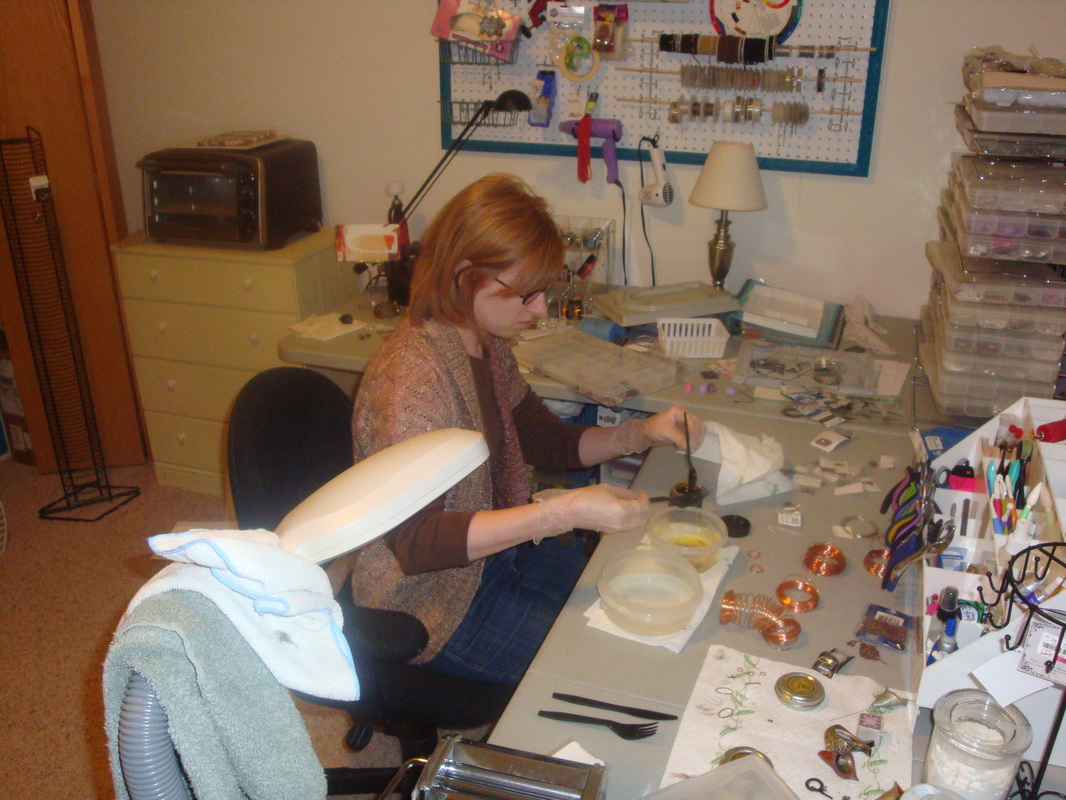
Mixing liver of sulfur into water to create a patina solution.
|
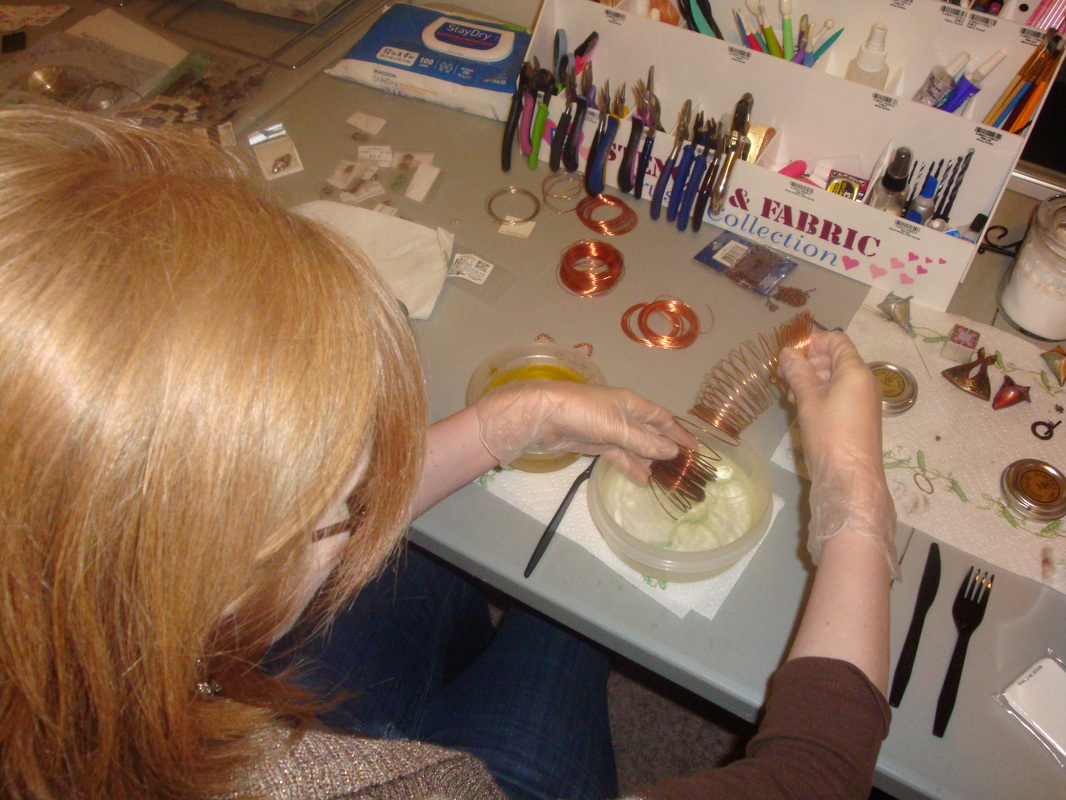
After dipping the copper wire into the patina solution, I'm neutralizing it in a baking soda/water solution to stop it from going darker. Notice in my left hand the wire is darker where it's been in the patina solution!
|
A smile for success!
|
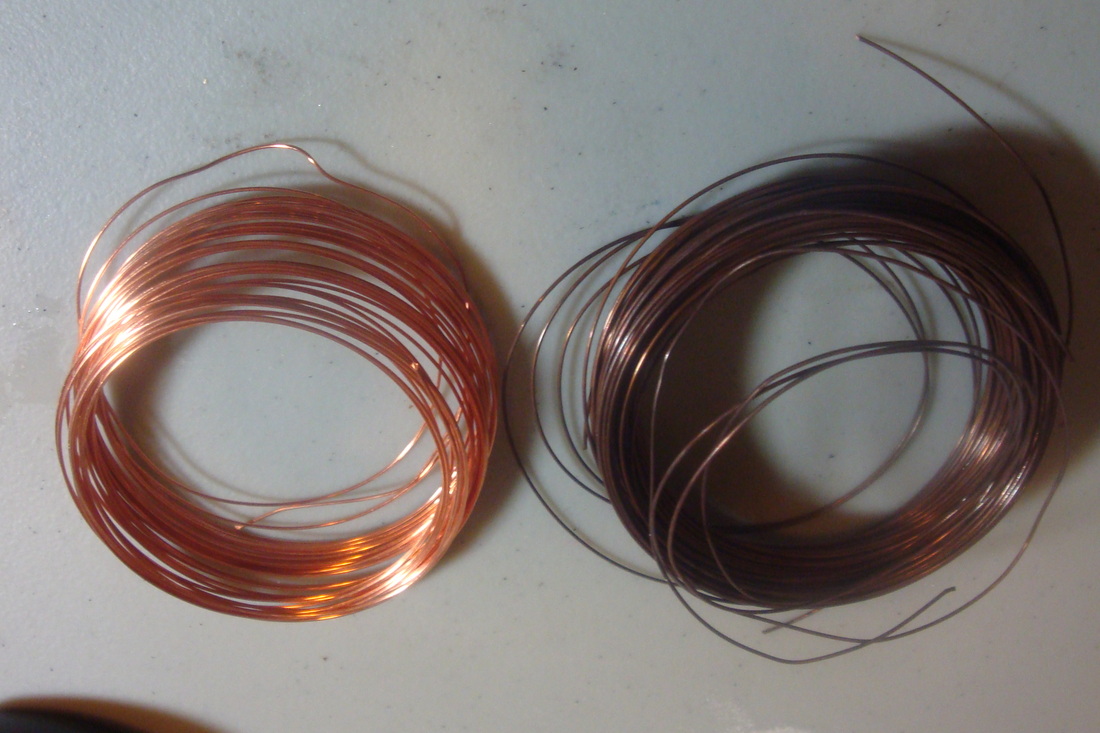
Here is a before and after shot of the same gauge wire. The bright one is copper with no aging, the right is a copper after being "patina'd", or aged for the antique look.
|
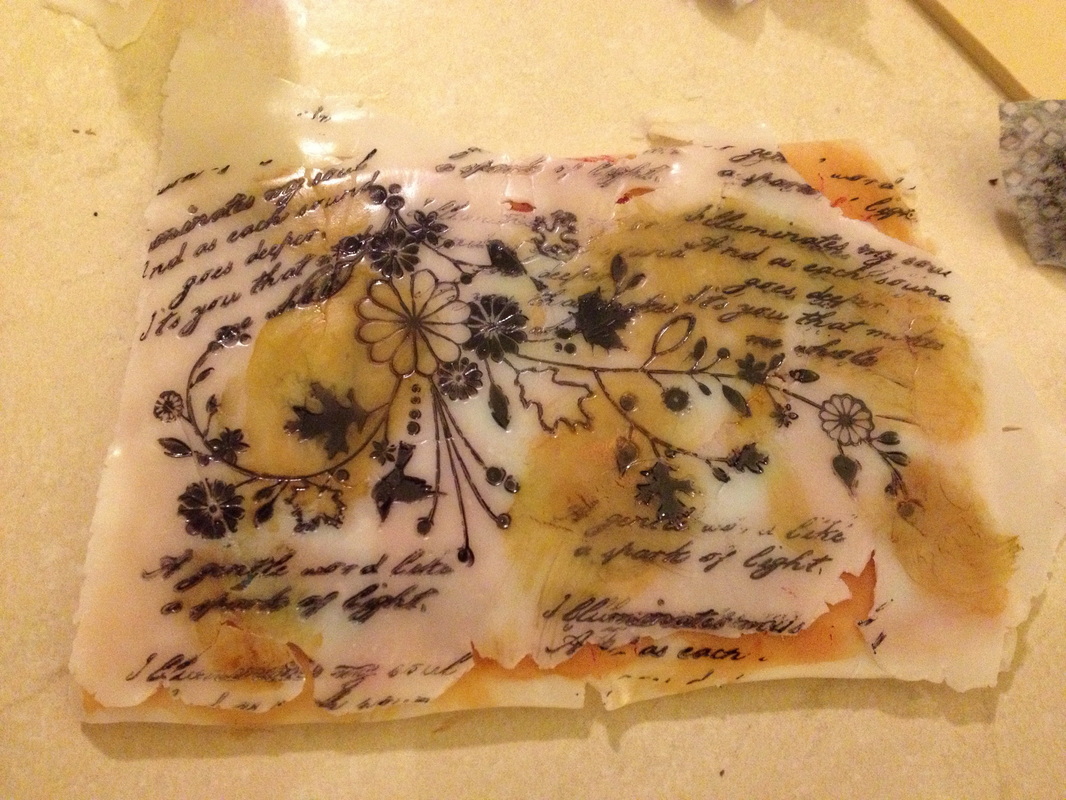
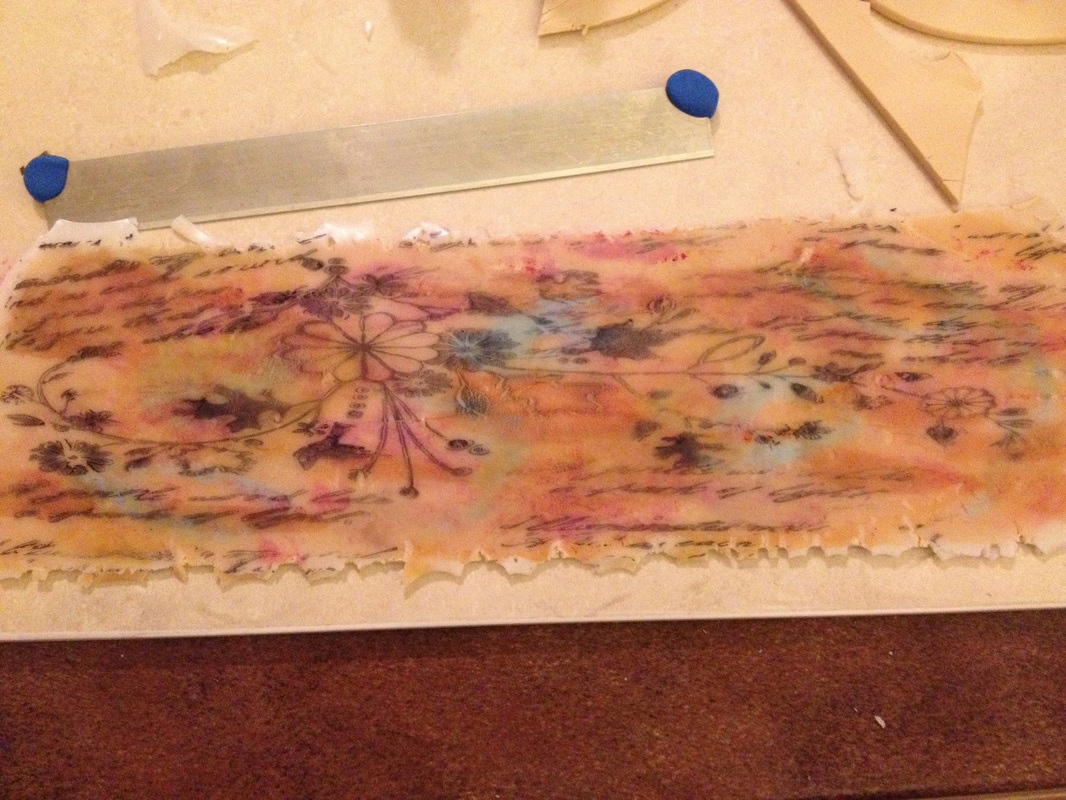
Clay Art Sheets
I learned this technique from Cindy Lietz, a polymer clay artist and teacher whom I learn from on a daily basis. I won't spill any secrets, but I will say that it's a multi-step process! Here is a picture of what it looks like in process - the neat thing about this is that in both the before and after photos, there were no new colors or anything added to the clay! How did I do that? It's our secret!
|
|
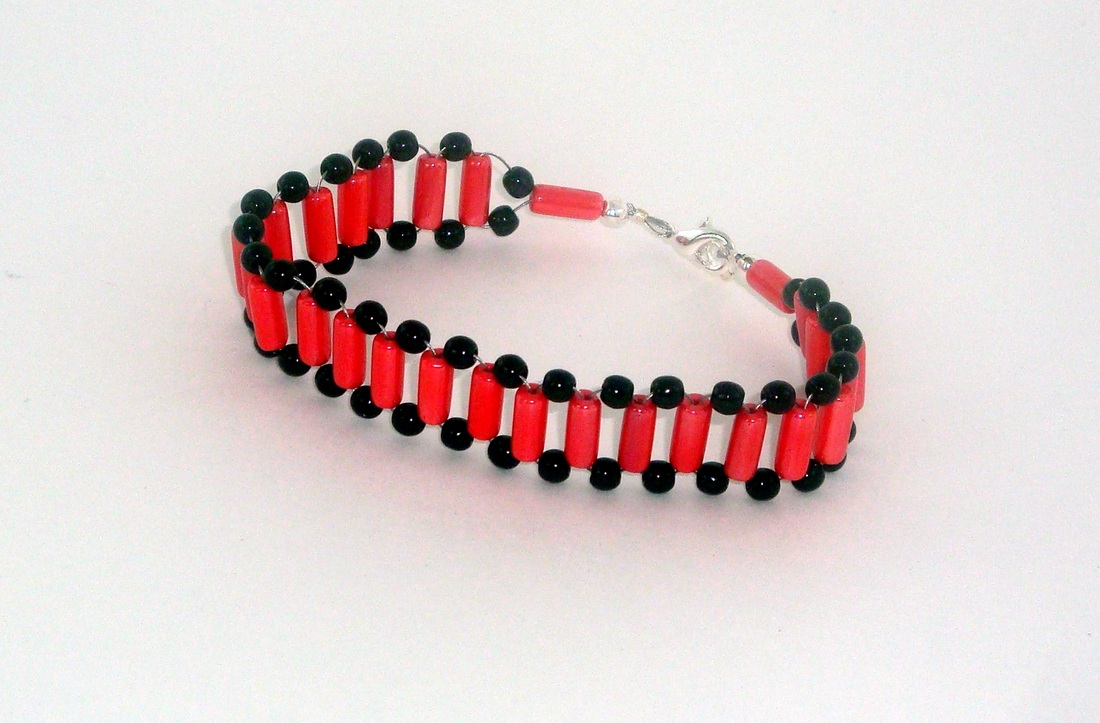
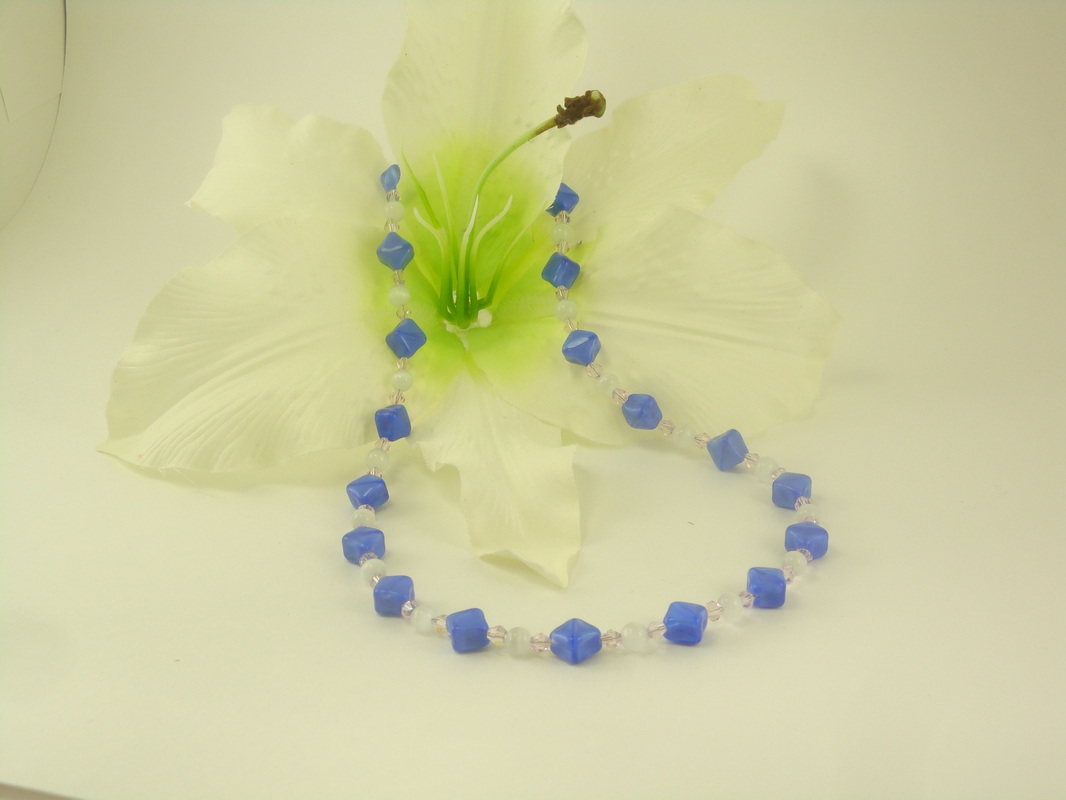
Making Resin Pendants & Bracelets
Using resin to create pendants is something that I was into quite a bit during 2012. It's very versatile because I can use pre-made molds, make my own, and use images from online to include in the pendants. It's been very fun as I have been able to create music themed pendants using images found online. There's very much a "correct" technique to using resin, and I'm learning quite a lot along the way (i.e. wear gloves - I learned that during the photos taken below)! I have moved away from using the two-part epoxy resin for now, and will soon be using a UV resin. UV resins cure with sunlight or a UV light, and are much harder and shinier than some two-part epoxy resins. I will mostly be using the UV resin to create a glass-like finish on polymer clay pieces. To see larger images, please click on the photos below.
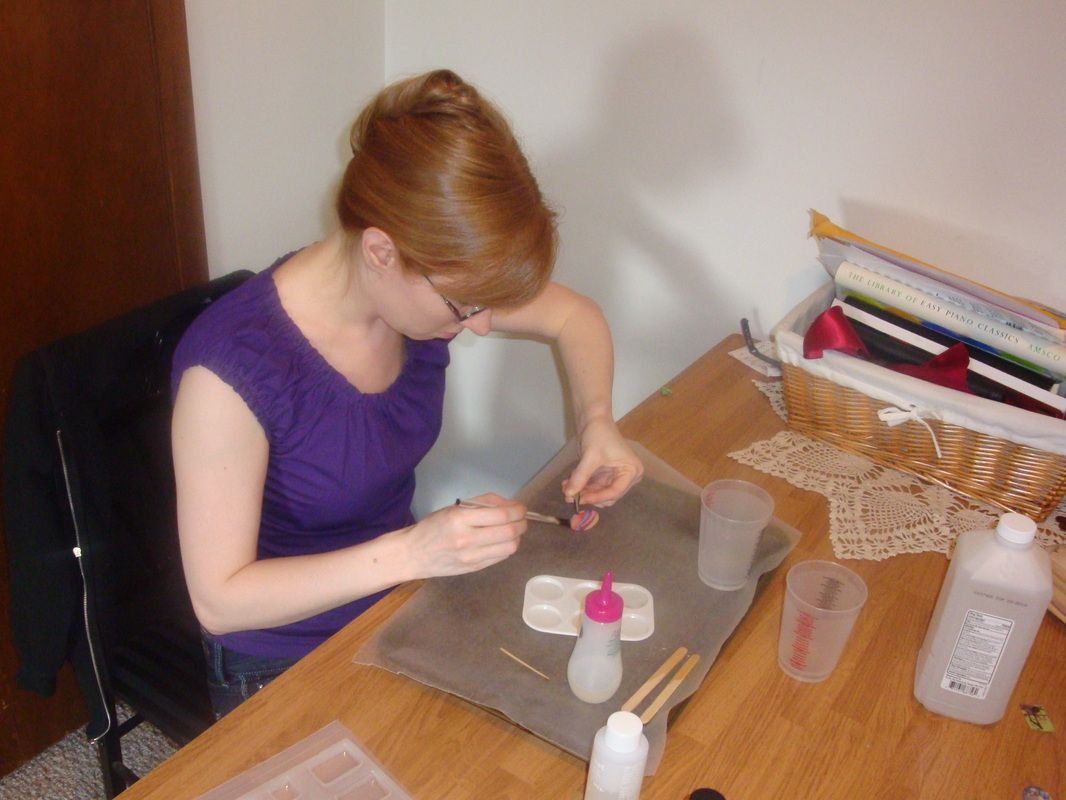
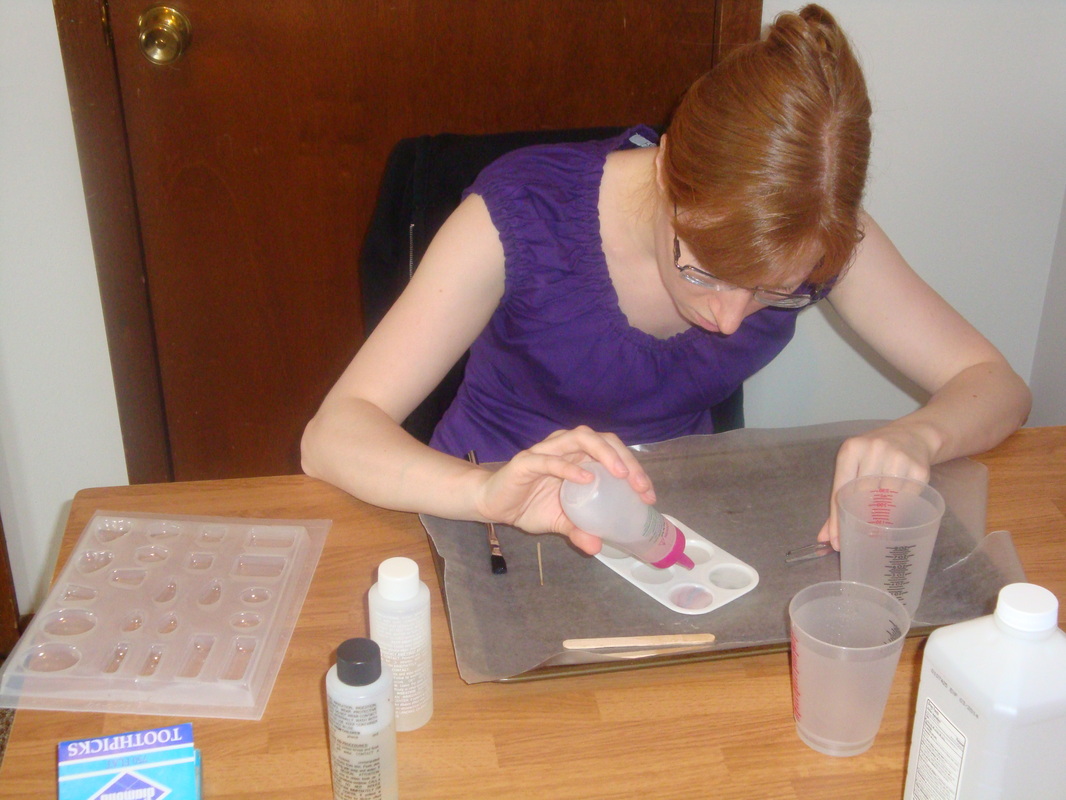

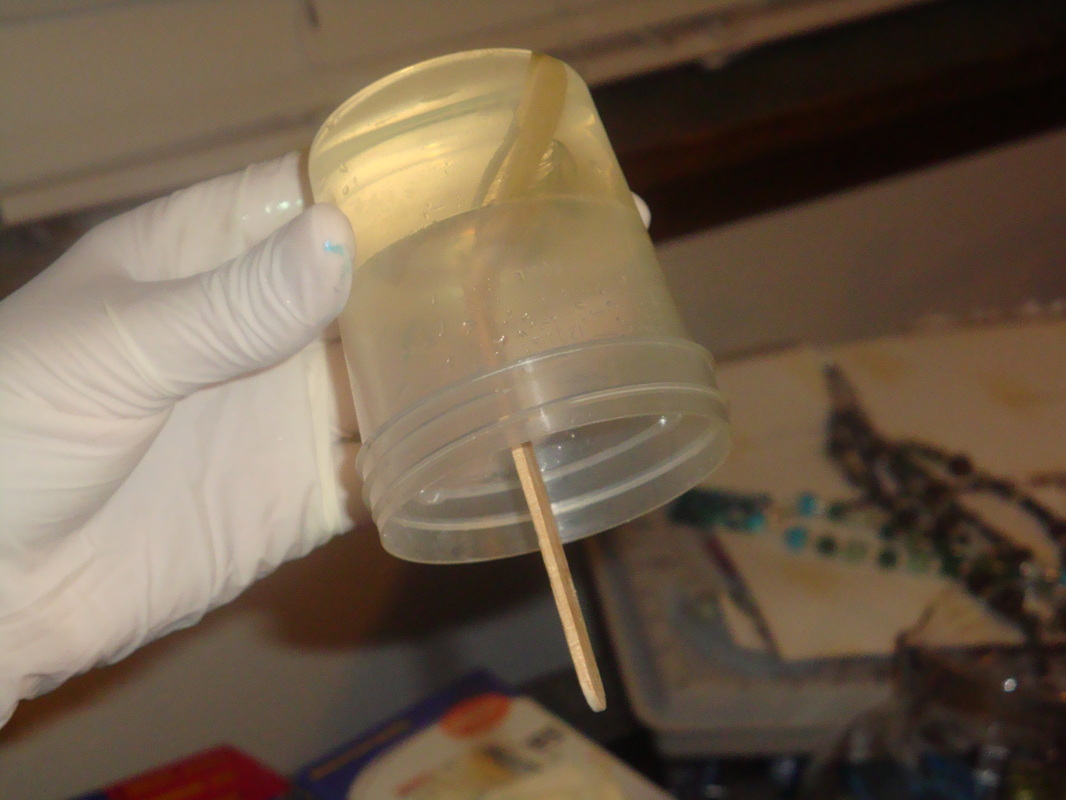
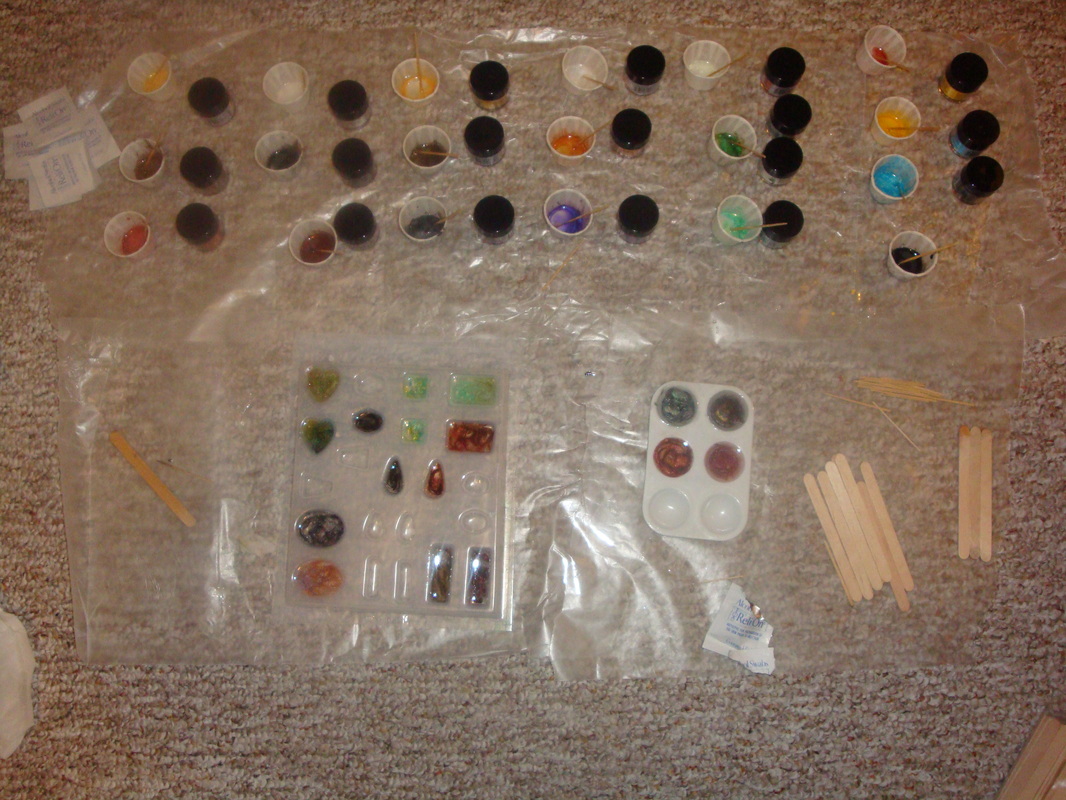
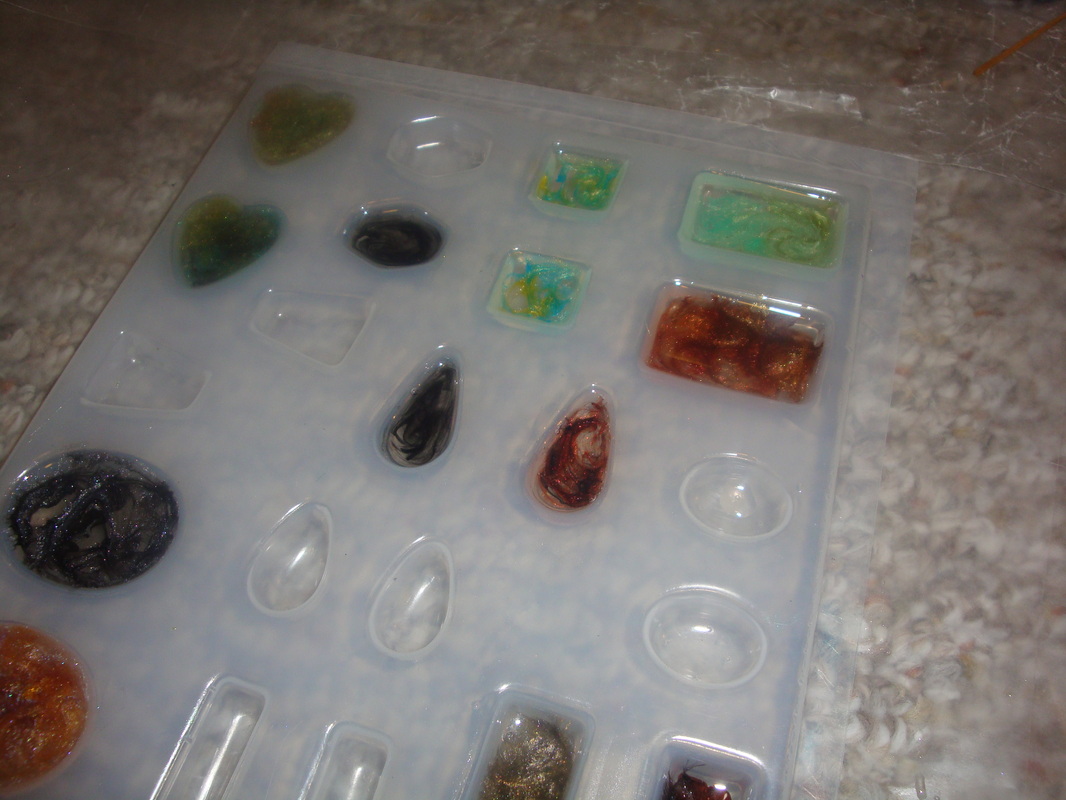
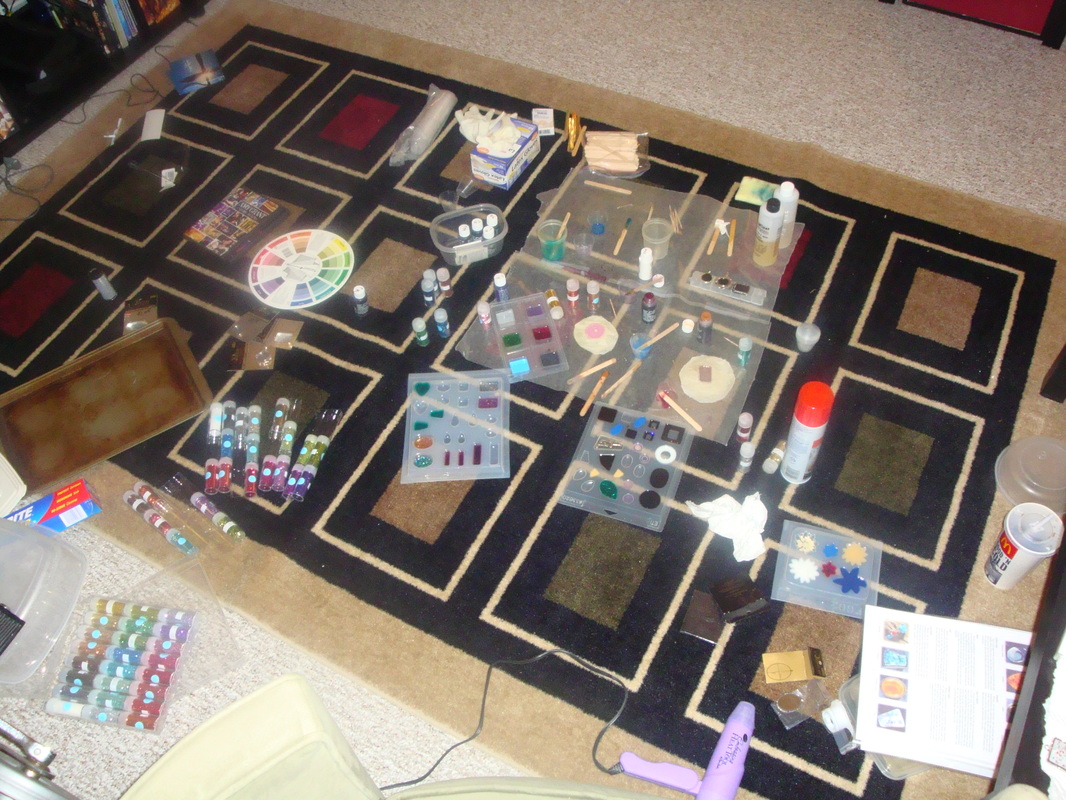
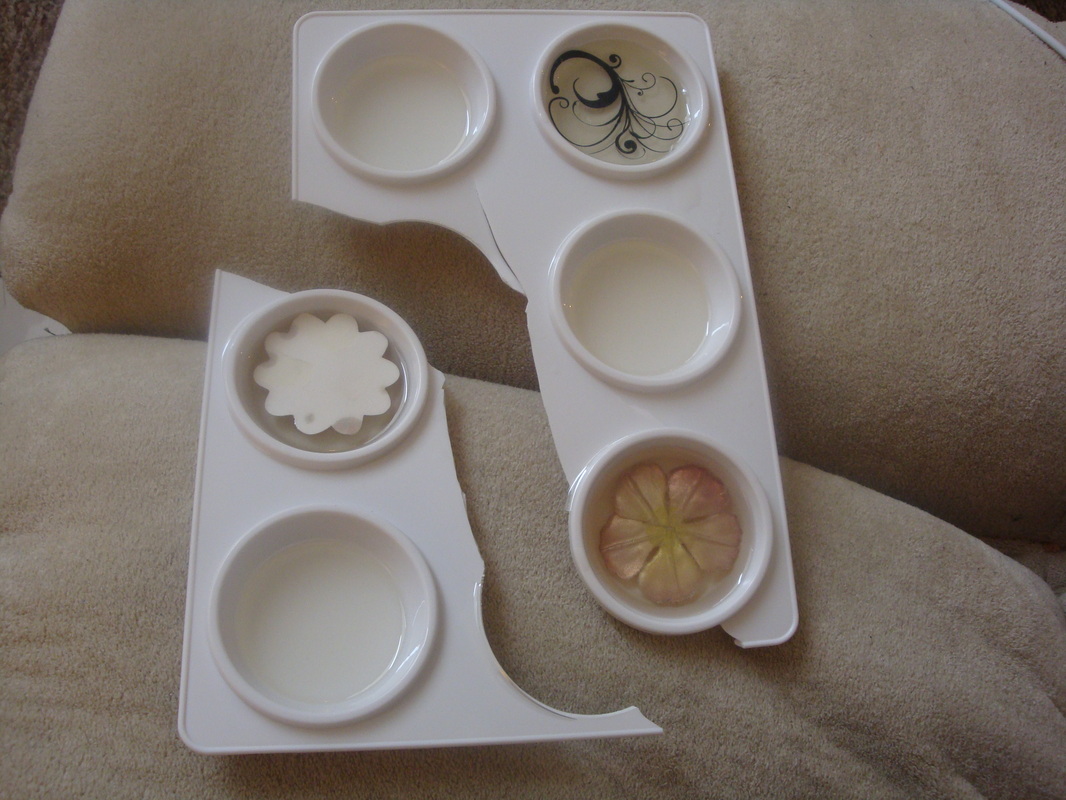
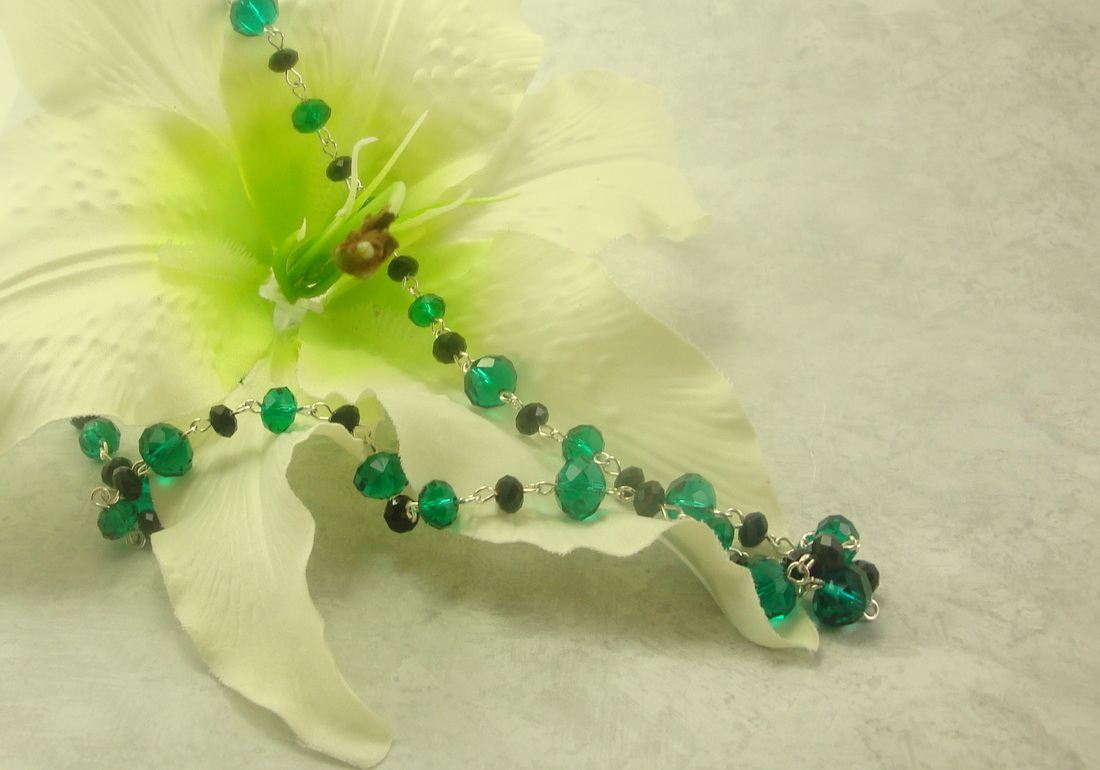
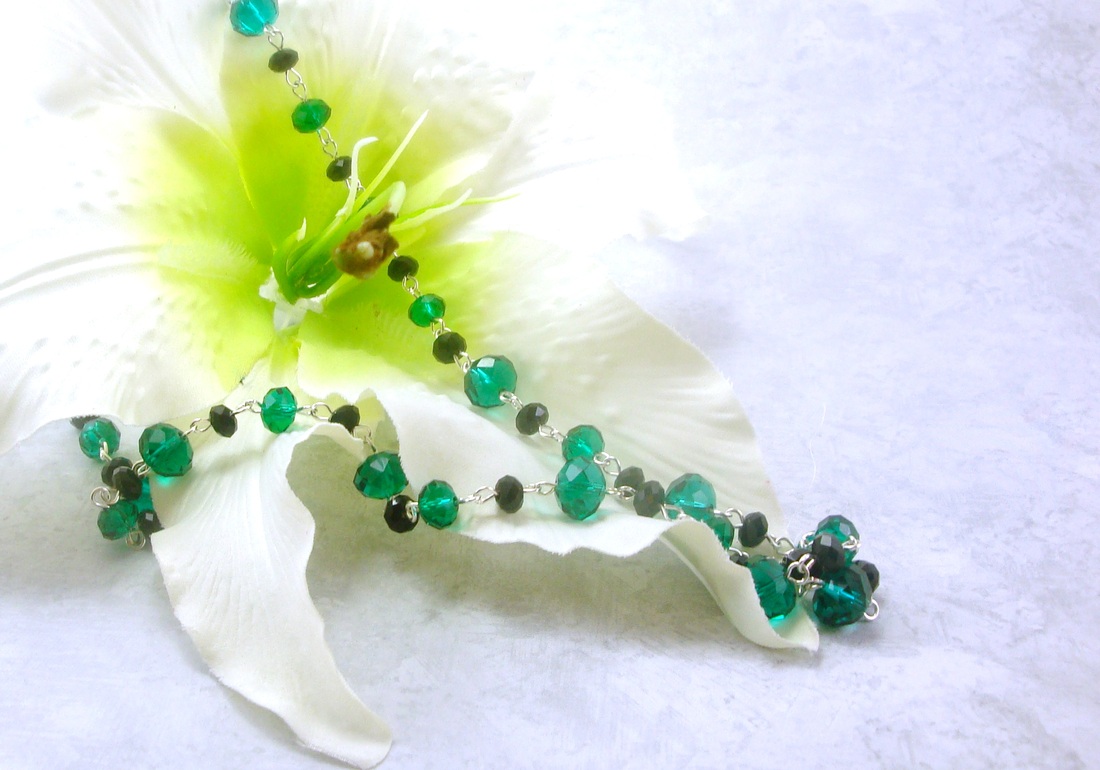
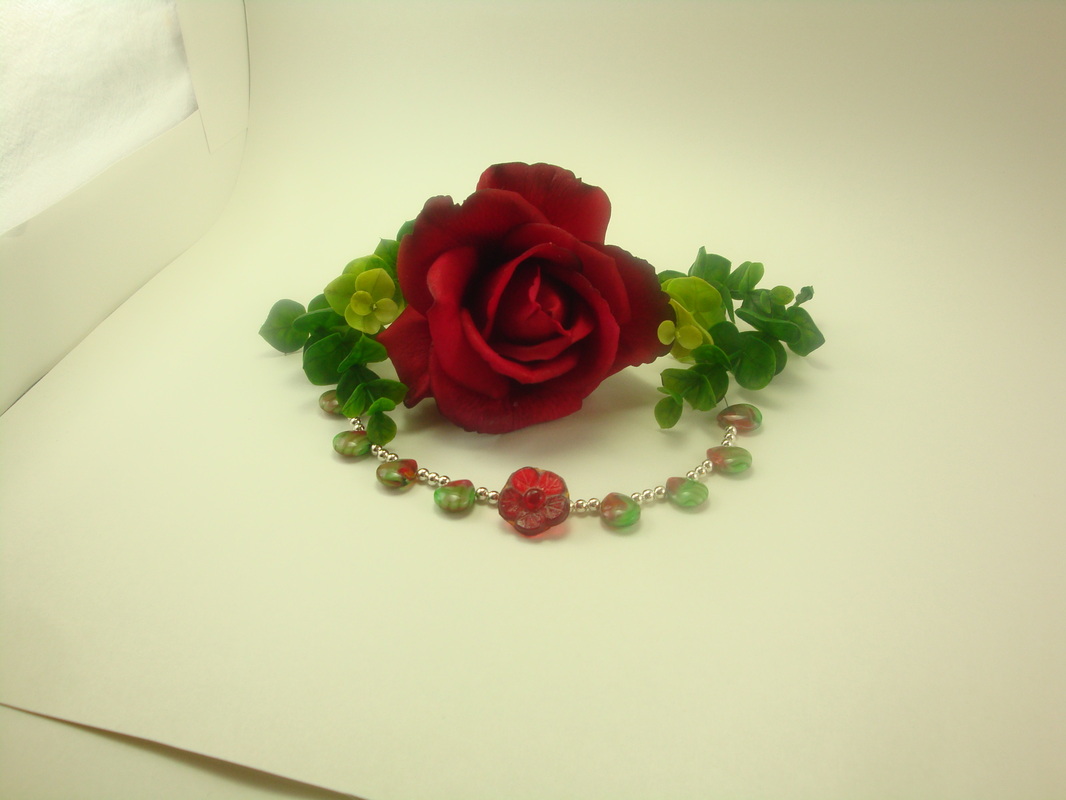
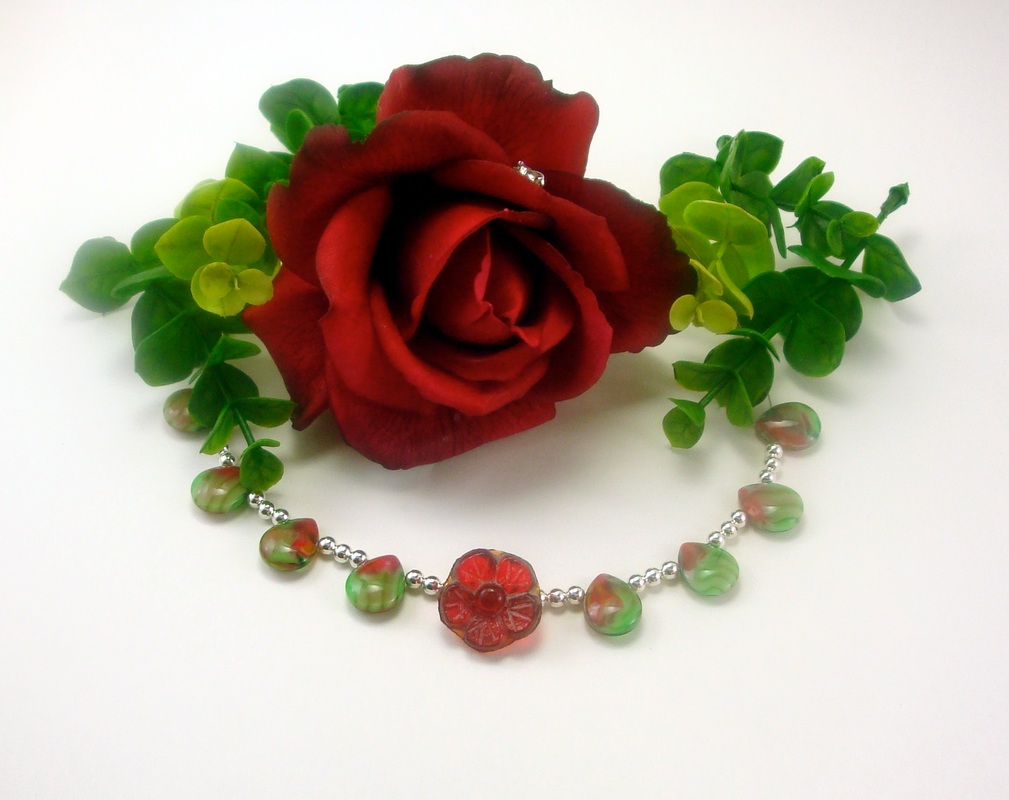
Photo Editing
When I first started making jewelry, I just took simple photos of my pieces. Once I learned how you have to photograph them to sell them on a place like Etsy (and then soon my own website, which is not active at the moment), I was a little overwhelmed. Props, setup, lighting, focus, editing - I had no idea. So I started from scratch and worked my way up. I built a light box out of cardboard and old white "flour sack" dish towels. I got lamps to position in place for lighting, and a tripod to keep the camera still. The photos starting looking better, but there was one major thing missing. They didn't "pop". Then I learned of a free downloadable software called GIMP, and made my way through the big learning curve. Below are examples of raw and edited photos to show how much change takes place after I've spent some time with it in GIMP. The goal is always to get them as true-to-life as possible. In the near future, however, I hopefully will be getting a better and more versatile photographing system (portable and durable light box), which will aide quite a bit in getting great photos right from the start. I have also found that I use less props now-a-days. I like the props, but I also like using my time efficiently. Sometimes it takes longer to get a prop figured out so I've been leaving them out altogether lately. Click on the photos to see a larger size.

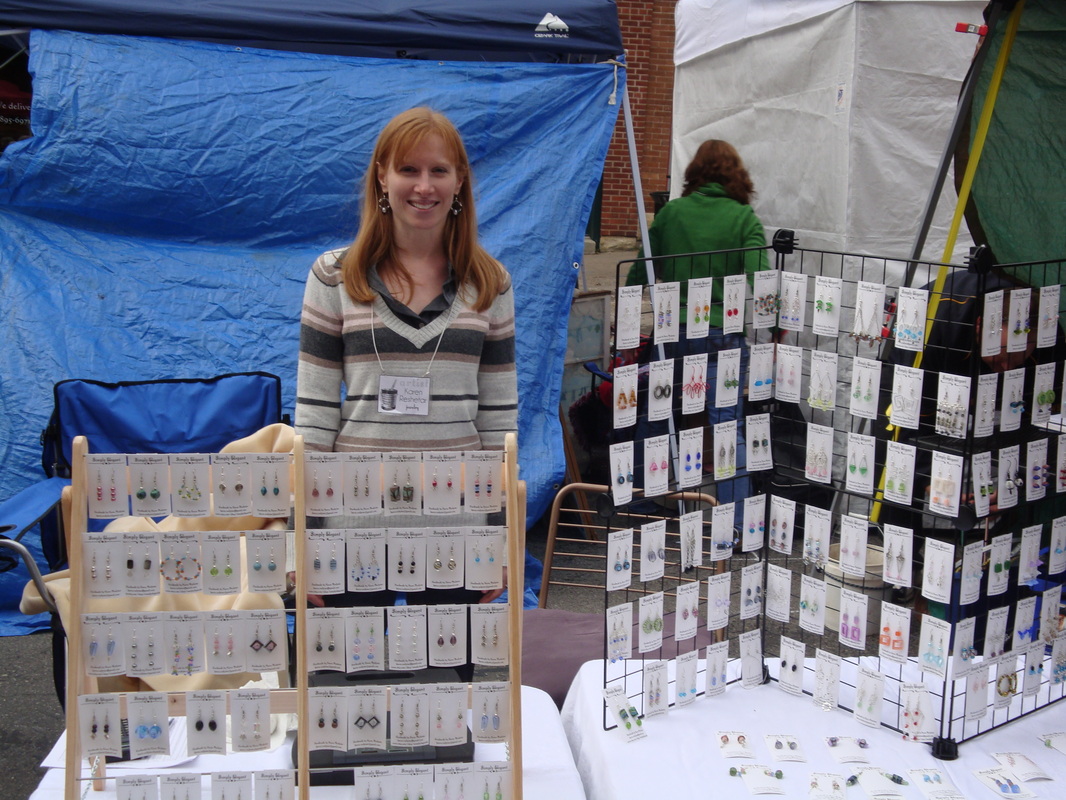
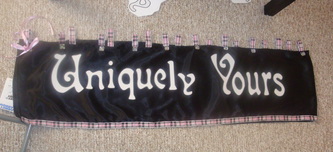
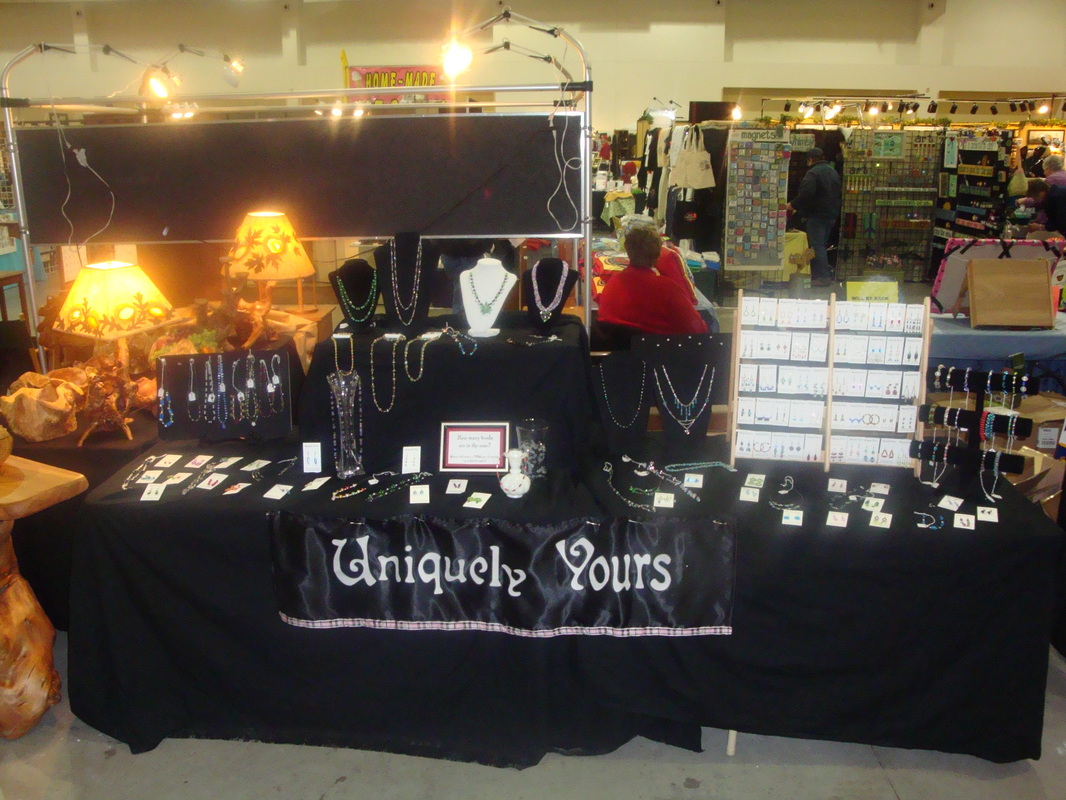
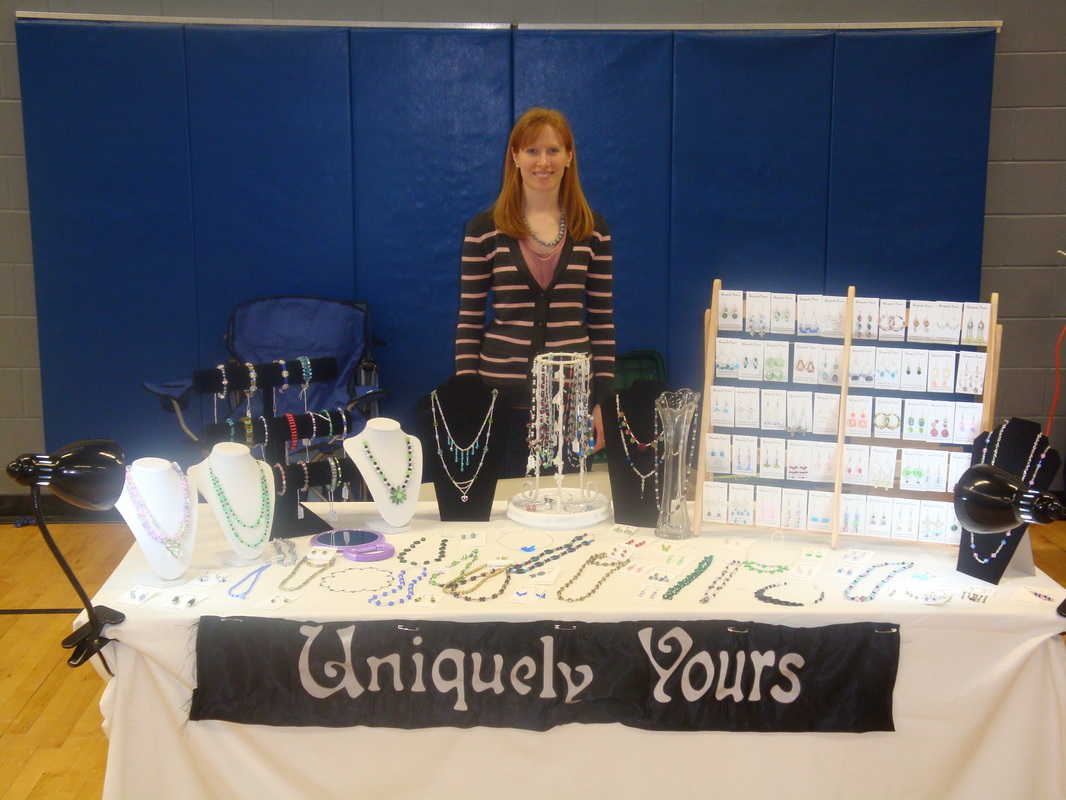
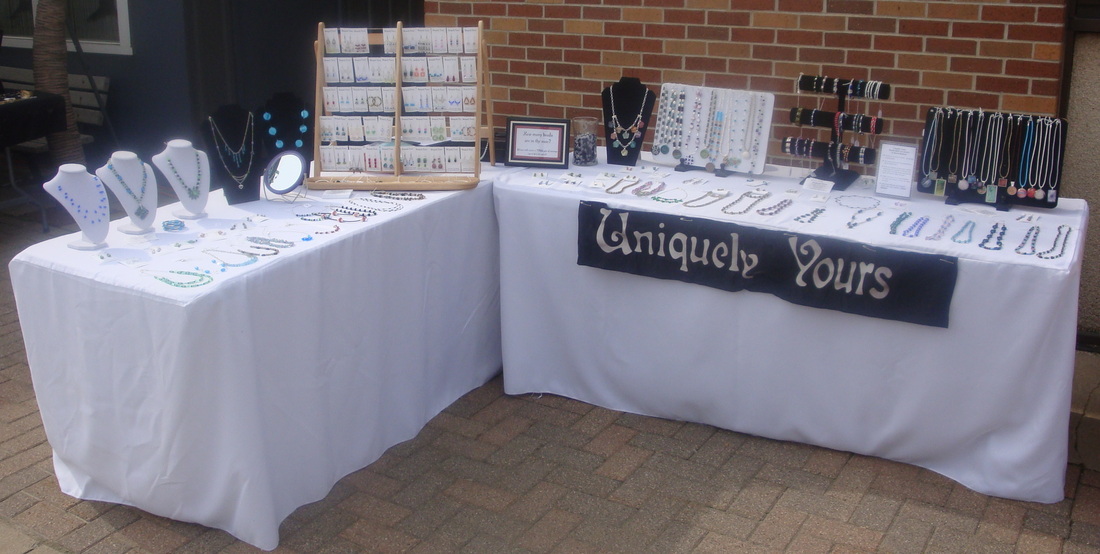
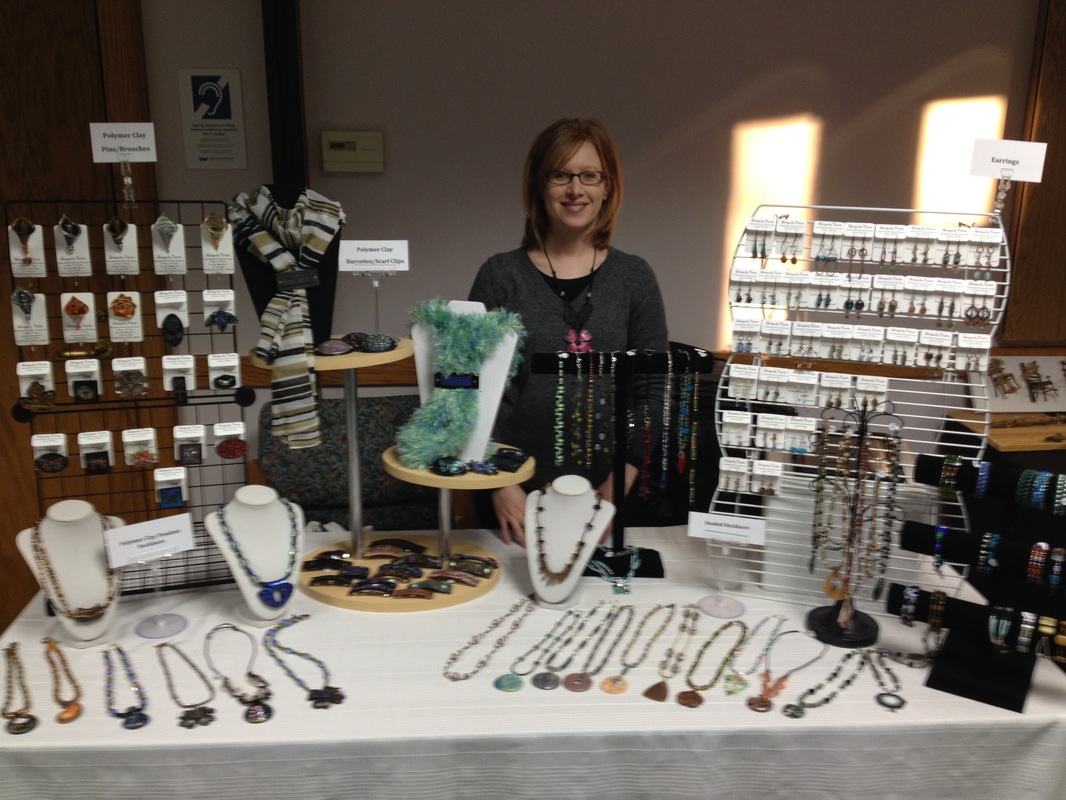
The Original Sign & Ever-Changing Displays
My display changes at almost every show. Sometimes I'm allowed a larger space, sometimes a smaller one. Adapting to that can be a challenge but like everything else, I keep learning what works and what doesn't! Click on photos for enlargement.

The New Display: 20.0
I've mentioned the name Cindy Lietz before, in regards to clay techniques, and I have to credit her one more time as being the inspiration behind what I believe will be the display style that sticks around. In one of her tutorial videos, she was explaining that she had to switch up one of her plans and said "you just have to learn how to improvise with what you have". I was immediately struck by that, as I'm someone who wants all the latest tools and fun gadgets. I took her advice and decided to make a display using as much as possible of what I already had on hand. Using my McGyver-like skills, I got to work! Click on the photos below to see how I started the process, what I upcycled, and what I found for free (I love things that are free!).
The Shelving

Jewelry displays need height, especially when you only have one 6 foot table to display from. I already owned this shelving unit, which also has another two levels. It's lightweight plastic, is easily taken apart, and doesn't take up much room when dismantled. It was perfect! What it did need, however, was a top bar or rung from which to hang a sign. Easily solved with inexpensive PVC pipe!
|
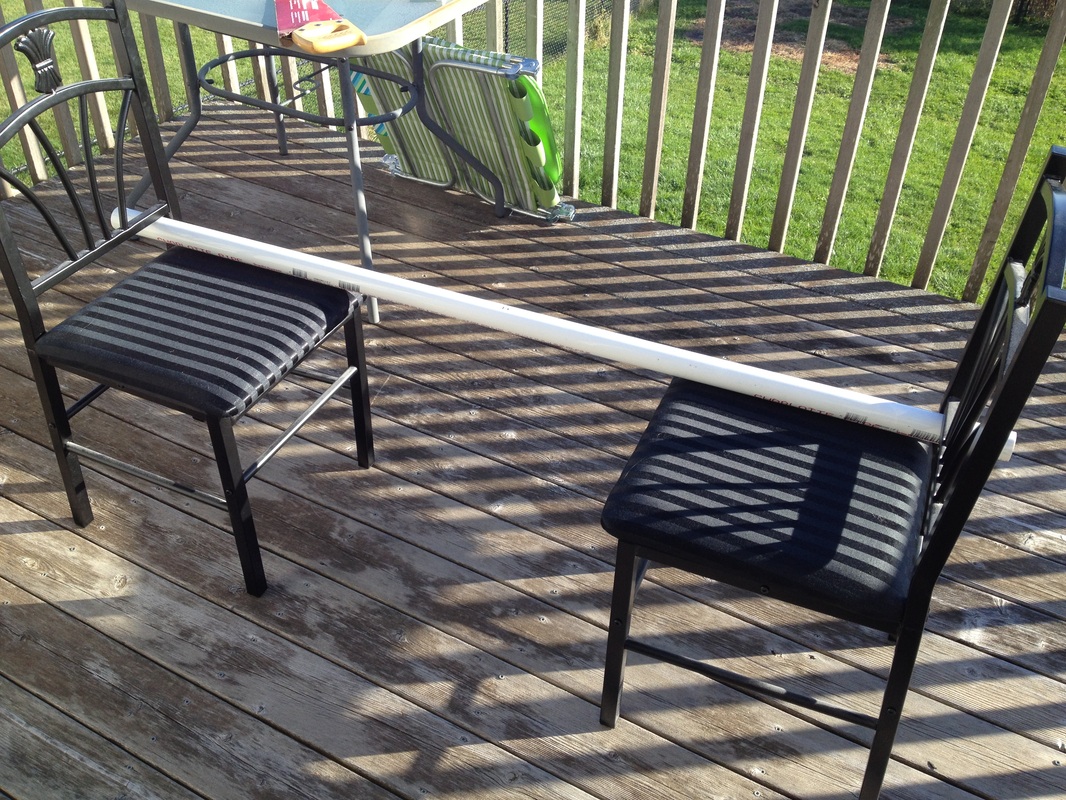
I took a 5 foot piece of appropriately sized PVC pipe (to match the corner PVC that fit onto the plastic tubes), measured out the length I needed, and sawed it. I call my setup the "poor-man's sawhorse". :-) But it worked well and that's all that mattered!
|
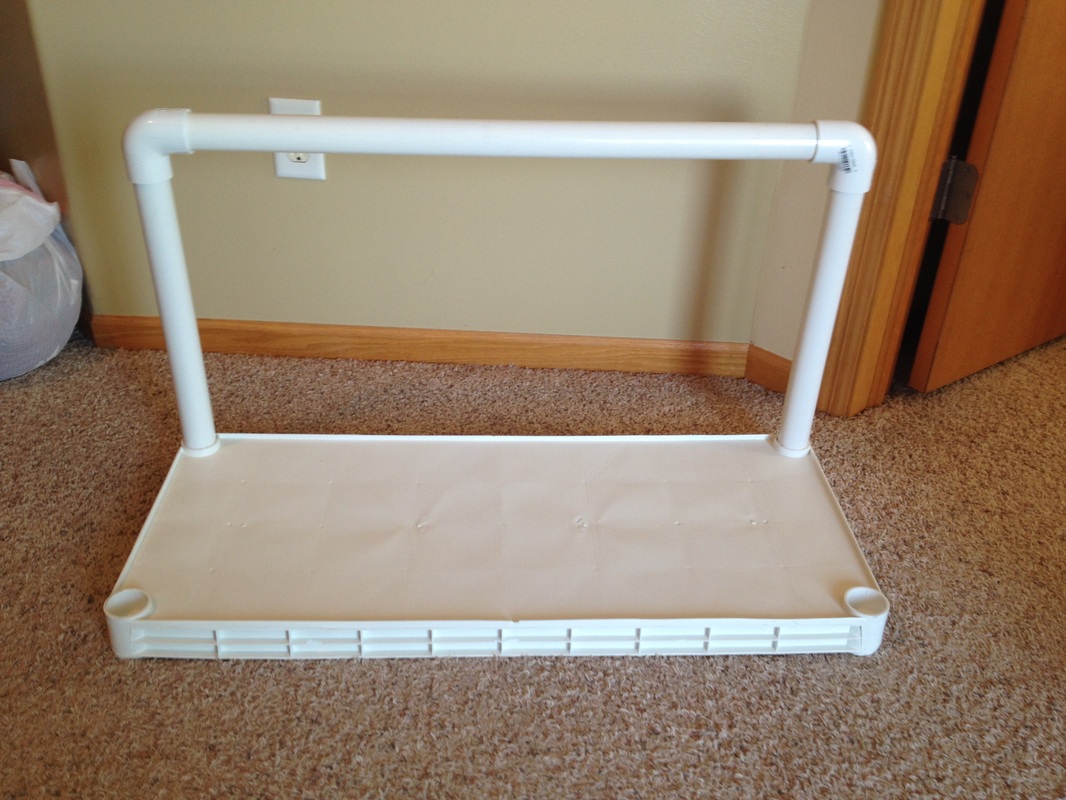
It fit! The PVC pipe fit perfectly into the PVC corner pieces. I now have a bar to hang the sign on! I also cut soft white fleece to fit on top of each of the levels (not pictured here) so that my pieces are not up against rough plastic. It softened the look quite a bit!
|
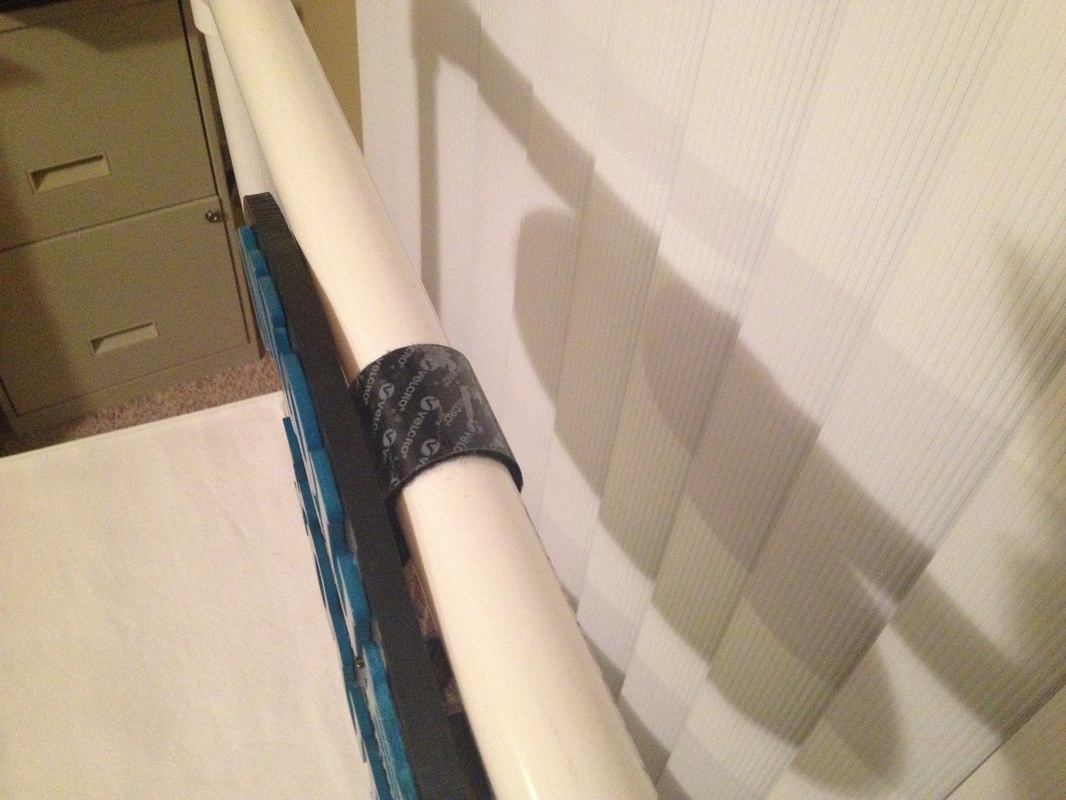
I love velcro, and this super strong industrial strength velco did the trick! The sign hangs very nicely and seems to be quite secure. Easily removable for transport.
|
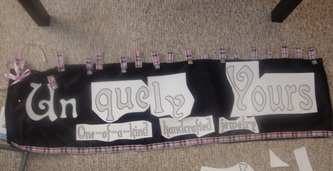
The Sign
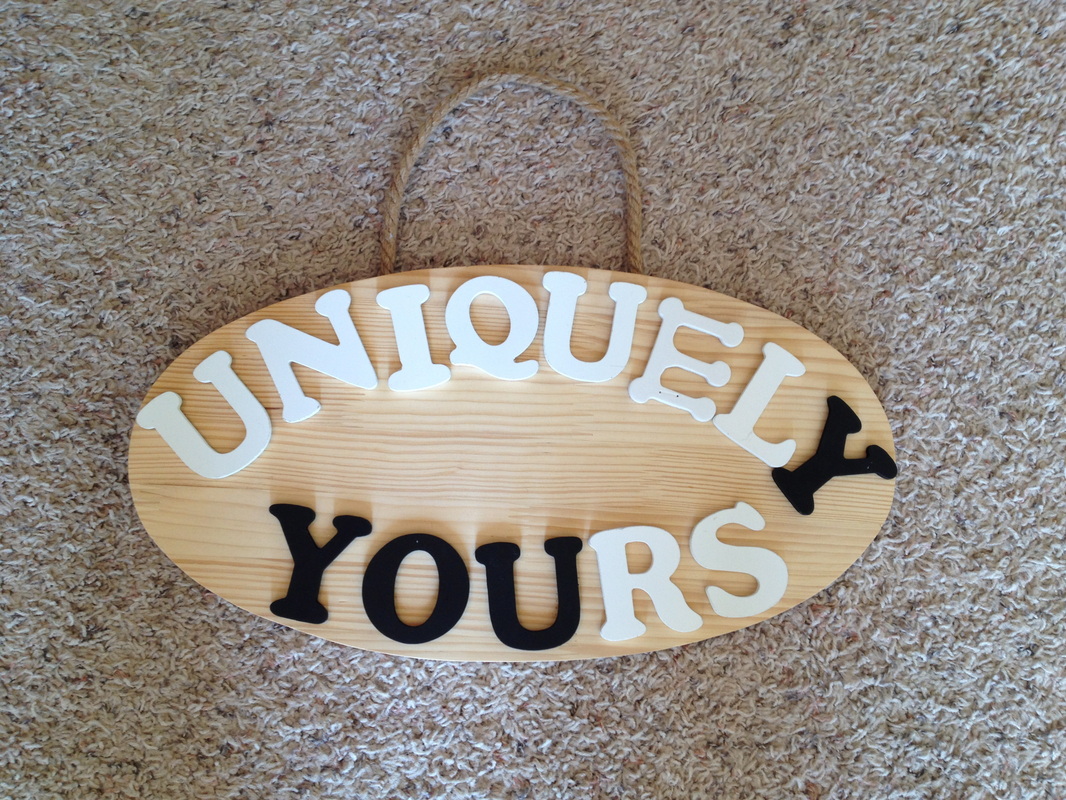
Here's the sign idea as it started. I already owned the oval wood sign, and was planning to use it for something else. That plan didn't work out so I thought it would be perfect to re-purpose. The letters I purchased for 99 cents each at Michaels Craft Store.
|
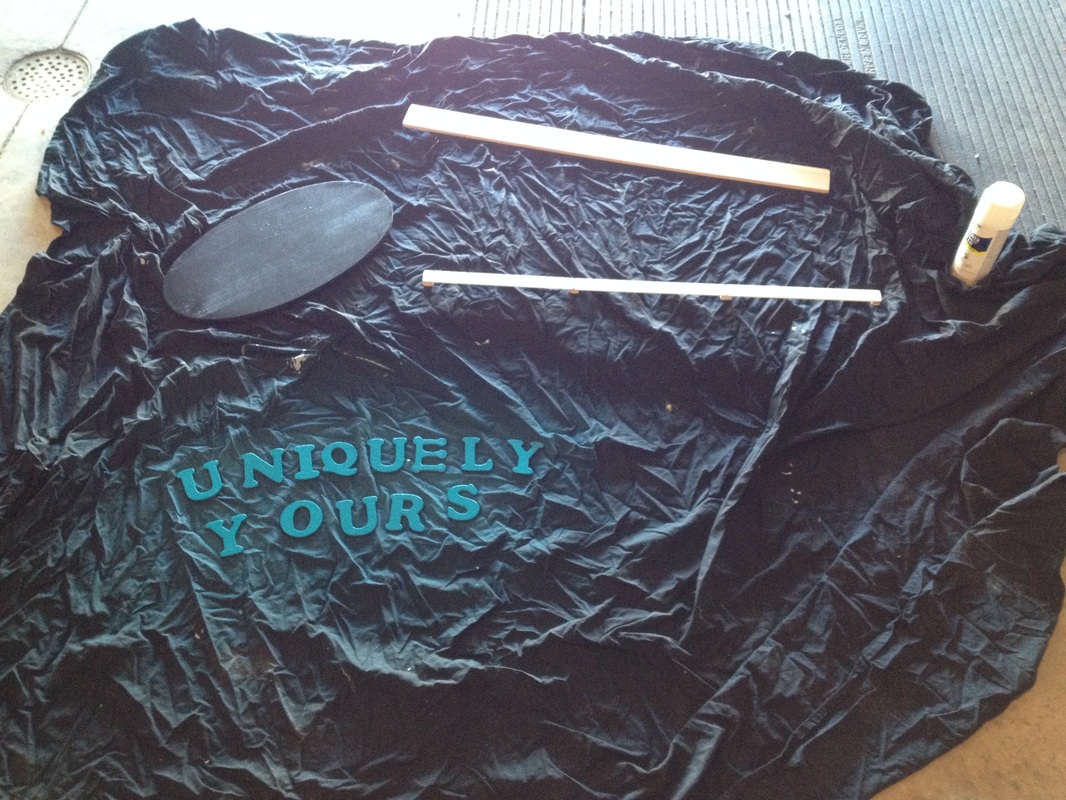
I already owned black, white, and ocean blue spray paint. Since the challenge was to improvise using what I already had, those were the colors that I used.
|
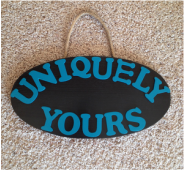
I was amazed with how it turned out! Shortly after seeing this, I realized I had inadvertently branded myself. And I'm okay with that. :-)
|
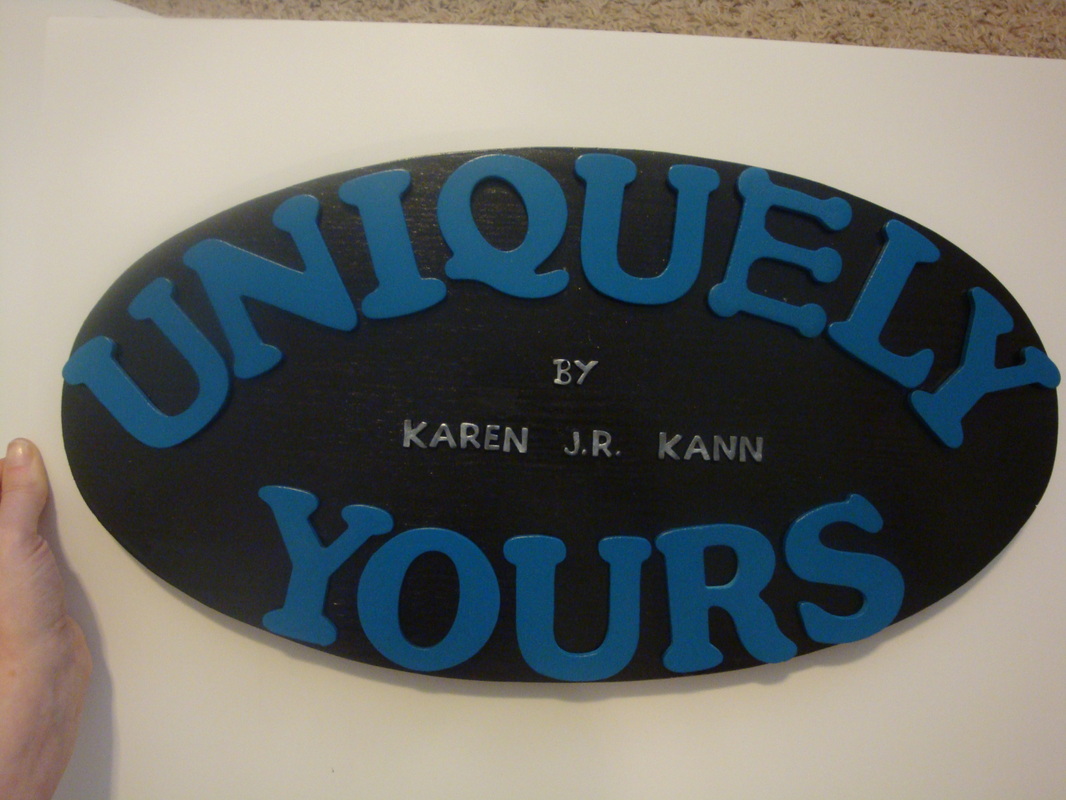
I wanted my name on the sign, and my first plan was to stencil it. I wasn't too sure about that, however, since if I made a mistake it would be very hard to fix. The remedy? I already had black clay and pearl ex powders. I made each letter using a clay mold, painted it with my pearl ex choice of color, baked them, sprayed them with a protective finish, and then glued them to the wood. I'm quite pleased with the results!!
|
The Earring Holder
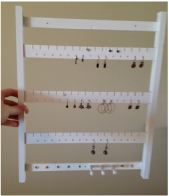
I've had this wooden jewelry holder for years. I wasn't actively using it, so I upcycled it.
|
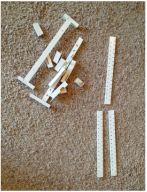
I took the saw again, and cut it all apart, ending up with the picture to the right.
|

The three rows of wood that held earrings in the original jewelry holder, has now been sawed and glued together. I sanded each end before gluing, and also glued small wooden pieces from the scrap pile to the back in order to give room for earring backs.
|
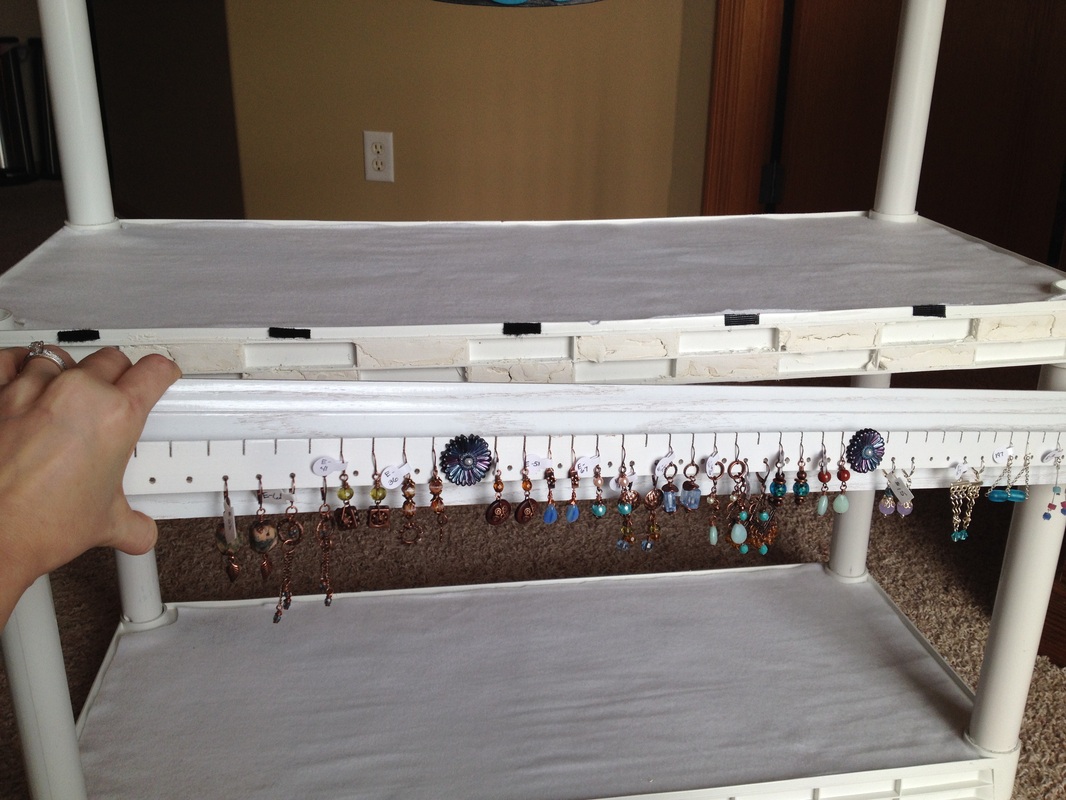
I needed something sturdy for the earring holder to attach to, and something that could be affixed to the plastic shelving. I dug around in the garage and found a floorboard that was left with the house when we bought it. It was perfect for what I needed - and free, even better! I sawed the floorboard to the length I needed, sanded it, spray-painted it, and glued the earring board to the floorboard. No more using earring cards! Because earrings can be delicate, I needed a way to remove it for travel. Enter velcro and voila!!
|
Finishing Touches & Coming Together
It's starting to come together!
|
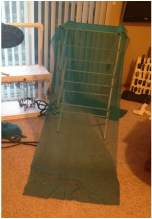
I purchased some soft, draping fabric for use against my white table cloth. It will be hung like a swag curtain. Here I'm treating the edges of the fabric with FrayBlock so they don't fray. My sewing machine is either at my parent's house, or at my mother-in-law's house, so when I retrieve it I will hem some edges. Though the coloring on the photo is a little off, the fabric matches the ocean blue on the sign perfectly. And the fabric was a steal on sale!
|
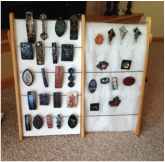
This was an earring display that I purchased on Etsy. Since my earrings are now displayed in a different way, this was free to use. The barrettes/scarf clips fit perfectly on the rungs. To keep the pieces from hanging too far downward, I cut some foam board and slid it behind it. Worked perfectly! I wanted to display my pins and brooches on the right hand side, but needed something that could be reachable from both sides and easily penetrable. I purchased some batting (also on sale yay!) from the fabric store, cut it to size, and weaved it over and under the rungs. This worked perfectly too!
|
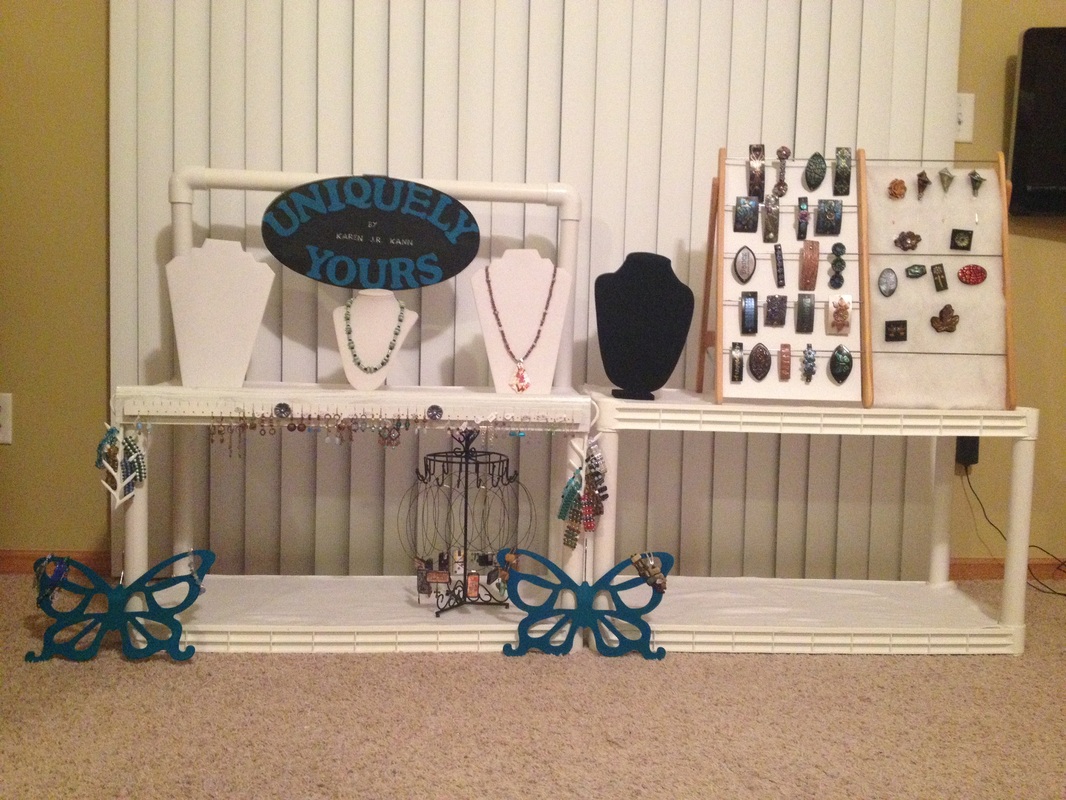
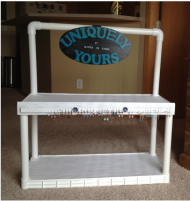
It looks great! These shelving units will sit on top of my display table, so they will be at eye level or slightly higher. I will have my white table cloth underneath, with the blue drapery fabric hanging in a swag on the front. I'm very proud that all my hard work has come together so well. And I have to say I lived up to the challenge of using many things that I already had!
|
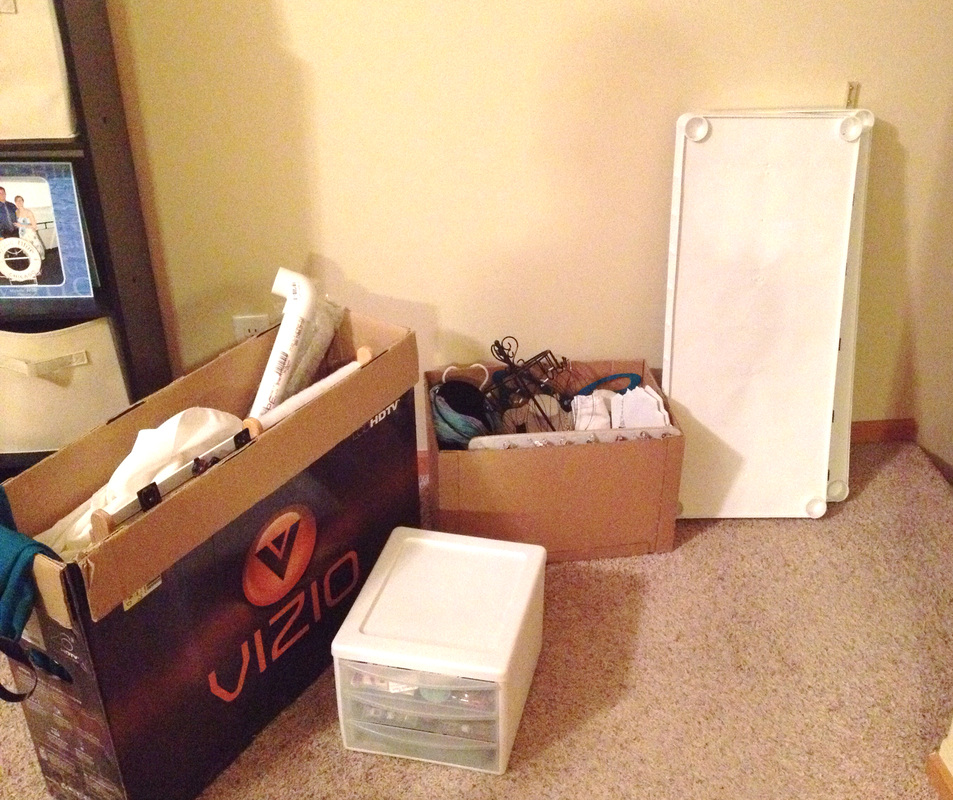
Packing it all up....I've got it down to a science.
|
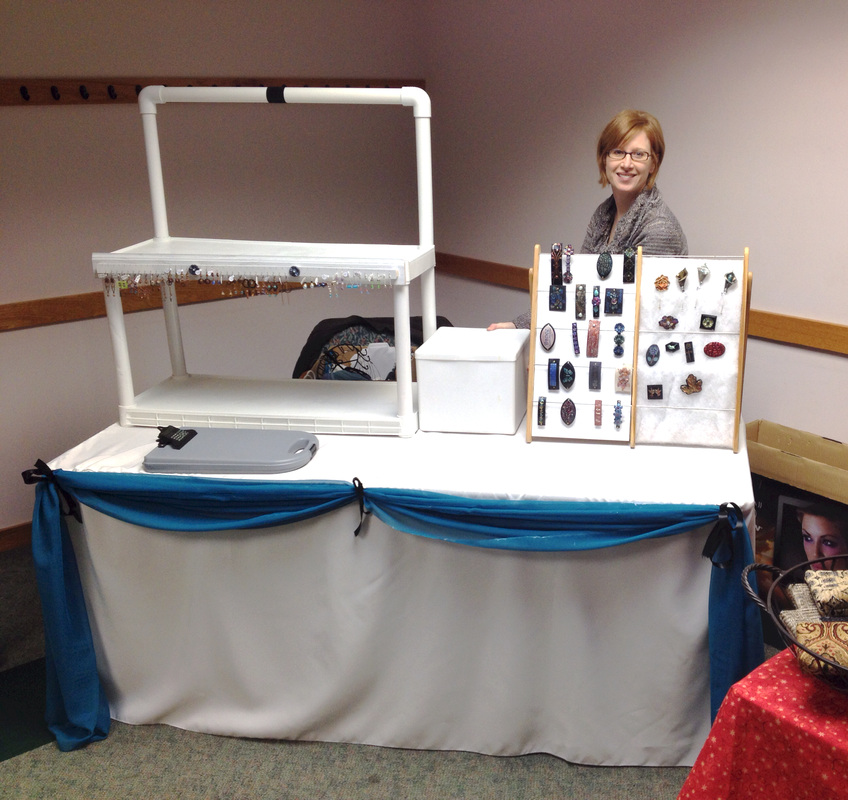
Getting set up!
|
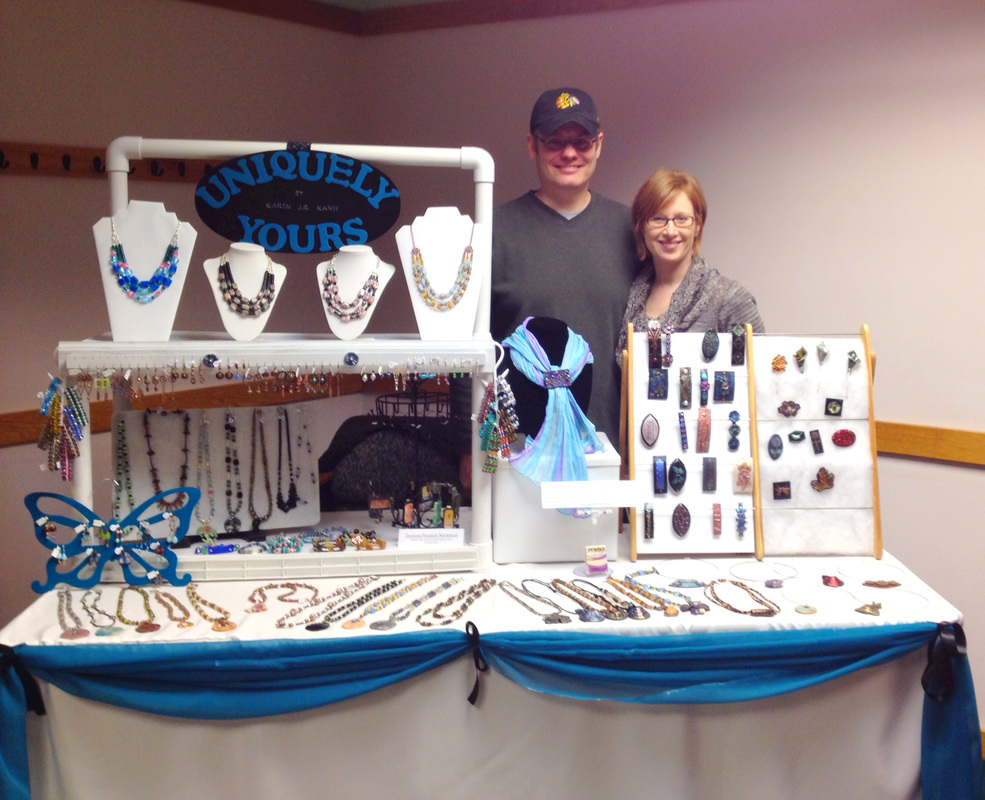
Me and my partner-in-crime. Best looking display there!
|
